Basement ceilings can be finished in many different ways. You have to choose the one that best suits your needs. Many options are available: traditional drywall, tongue-and-grove board, acoustic ceilings, and drop ceilings. Each option can be considered, and you will find the one that best suits your needs. You can also employ Royal Palm Beach Popcorn Ceiling Removal & Drywall Services to help you install the smooth ceiling finish. You must be ready to move pipes and ducts between the joists if you choose drywall. You will need to box up any visible piping if it is impossible to hide in the joist cavities. Furring strips will be added to provide additional support. These are necessary to strengthen the ceiling boxes and create a solid foundation for the final treatment. Although drywall is an affordable option, it requires much more work before you can get a finished product. The tiles make a great acoustic ceiling option because of their small size. To create a smooth ceiling finish, you can attach them to the furring strips by simply stapling them. However, all pipes and ducts must be hidden. The same applies to the tongue and groove board. However, you must have a smooth surface. All lines and vents must also be hidden. This material can be more expensive, especially if you need someone to move pipes or ducts that are difficult to hide. A drop ceiling can work well in a basement if the ceiling is high enough. This is the most cost-effective solution for your ceiling. It involves framing the entire ceiling. However, it will protect the pipes and finish them with a smooth surface. Homeowners often think about painting their ceilings. They envision matted hair and splattered paint. With the right tools, you don’t need to lose your head when you paint the space above your head. It is possible to paint the ceiling. You should first invest in a high-quality paint roller. This will save you both time and effort. To reach higher places, look for models that have an extended handle. A paint bucket should be included with the paint roller. It should have both shallow and deep wells. Also, check to make sure your ceiling has smooth or textured drywall. Paint roller covers are also known as paint roller napping. They cover paint rollers with fibers and absorb paint. A thick-nap roller is required for ceilings with textured ceilings. These ceilings are often called ‘popcorn’ ceilings. A short-nap roller is better for smooth ceilings. For your cut-in work, you will need a ladder and a paintbrush. Preparing the space and walls for ceiling painting is essential. You should remove all curtains and lighting fixtures. You don’t want to make a mistake, such as if the paint damages something in the room. To protect from paint splatter, take out any large furniture. Check the ceiling and walls surrounding to ensure they are free from cracks. You can dust or clean off any squalid areas. Quick-release painter’s tape should also be used if your ceiling paint is different from your wall paint. This will create a professional-looking line between the other colors. The cut-in lines are the areas of the ceiling that run along the edges of walls, trim, crown molding, and around light fixtures that can’t be removed. They also include tight corners that require extra attention. You will be painting the room around the perimeter before moving inward toward the ceiling. You can use the smaller paintbrush to make small strokes on the ceiling from wall to center, moving inwardly. This will ensure that your lines are straight and clean. If your walls are the same color as your ceiling, you will need to pay less attention when painting them. You can begin to paint the ceiling if the cut-in lines remain fresh. Before you start, make sure that the paint tray is full. Dip the roller into the tray’s deep end to remove excess paint. Next, roll the roller back and forth onto the tray’s shallower side. To paint a large ceiling area, you can use a “W” pattern to zigzag. Make sure that your strokes are consistent in all directions. Continue filling in the area with this method. You can apply any touch-ups or a second coat if needed once the paint has dried. Ceiling fans can create a cool breeze on your porch, balcony, or sunroom. Fans don’t need to be indoors. Fans can be attached to your patio or sunroom ceilings to keep cool in the spring and summer. Be aware that outdoor fans should be rated. An overview of your options can help you make an informed decision before buying. Although a balcony is a great place to put an outdoor fan, there are some things you should keep in mind. A patio is not enclosed like a room. The items on your balcony will be exposed to rain and dampness, so ensure the fan’s power source is waterproof. A patio is smaller than other interior fan locations, so the fan’s blades should not sag. For safety reasons, metal blades might be preferable to plastic or wood. A ceiling fan can create a calm environment on your porch. However, avoiding sitting on a fan that doesn’t circulate air is best. A fan that is wider and more angle will provide more excellent cooling. The fan should be silent and not emit a loud noise while running. Large motors can be noisy and sometimes produce a sluggish motion that is not conducive to smooth airflow. Too many blades can cause motor speed to slow down. Experts say four edges are sufficient. It doesn’t matter which blade arrangement you choose; an outdoor fan can be more exposed to extreme weather conditions than an indoor fan. Therefore, it is best to look for one that is sturdy. A ceiling fan’s smooth airflow can intensify the feeling of being outdoors. A ceiling fan can double as a light fixture and can be controlled with dimmers. This makes it not only cost-effective but also a great design option. A modern outdoor ceiling fan in brushed nickel with a 42-inch blade and globe light will cost upwards of $600. However, you can find decorative models for as low as $100. Price differences will depend on the brand and function. If you want to add one to your friend’s home, it is a good idea to ask them for recommendations. Home improvement can seem daunting if you have never attempted a significant renovation. You can do many DIY projects at home that are much easier than you might think. You don’t have to pay a contractor if you can save money and enjoy the satisfaction of completing a home improvement job yourself. This article will focus on a simple and easy home improvement task that anyone can complete: painting your ceiling. It is vital to have the right tools to prepare for this task. An extension handle makes it easier to paint while standing on the ground instead of on a ladder. A thick-nap roll is recommended to reach the gaps between bumps in a textured ceiling. A smooth, short-nap roller is best for smooth ceilings. Before you begin painting, remove all furniture from the room. If possible, you can cover the floor and table with newspaper or canvas cloth. This is more cost-effective and can be reused, but it is not as durable. You can cover any wall areas that you don’t wish to paint. Quick-release painter’s tape can be used to cover door frames, window frames, and other areas of the wall. It is highly recommended to prime the ceiling before you apply the paint. This will make your paint last longer, and you’ll only need to apply one coat. If you are able, use a primer with a stain blocker. Once the primer is dry, paint a 2- to 3-inch strip of paint where the ceiling meets the wall. This is known as the cut-in line. It will make it easier to paint with a roller because it will give you a more manageable border. Start with the corner of your ceiling’s shortest length. Once the line is cut, and while the paint is still wet, take the roller out and begin painting. After dipping the roller, roll it back and forth in the tray’s shallow end. This will ensure that you have a uniform coverage of the roller. Use a zigzag technique to paint, then use straight strokes to cover the paint and fill in any gaps. A DIY ceiling and wall plastering project is an excellent way for you to update your home without having to hire contractors. Plastering your walls will not only add elegance to your home but also serve as a thermal barrier, which will help maintain the room’s temperature efficiently and economically. It is crucial to understand how plastering works before you begin fully. For a successful DY wall or ceiling plastering project, it is critical to be organized and prepared with all necessary equipment. These sections provide a guideline to help homeowners complete DIY ceiling plastering projects efficiently and successfully. To get a good idea of the process, you should research it on the internet.
We offer the above services at the following locations within Royal Palm Beach:
If you are located in Palm Beach County and you don’t see your city/area listed above, don’t worry! We cover all of Palm Beach County. Fill out the contact form above or CLICK HERE and send us a message. We’ll get back to you asap!
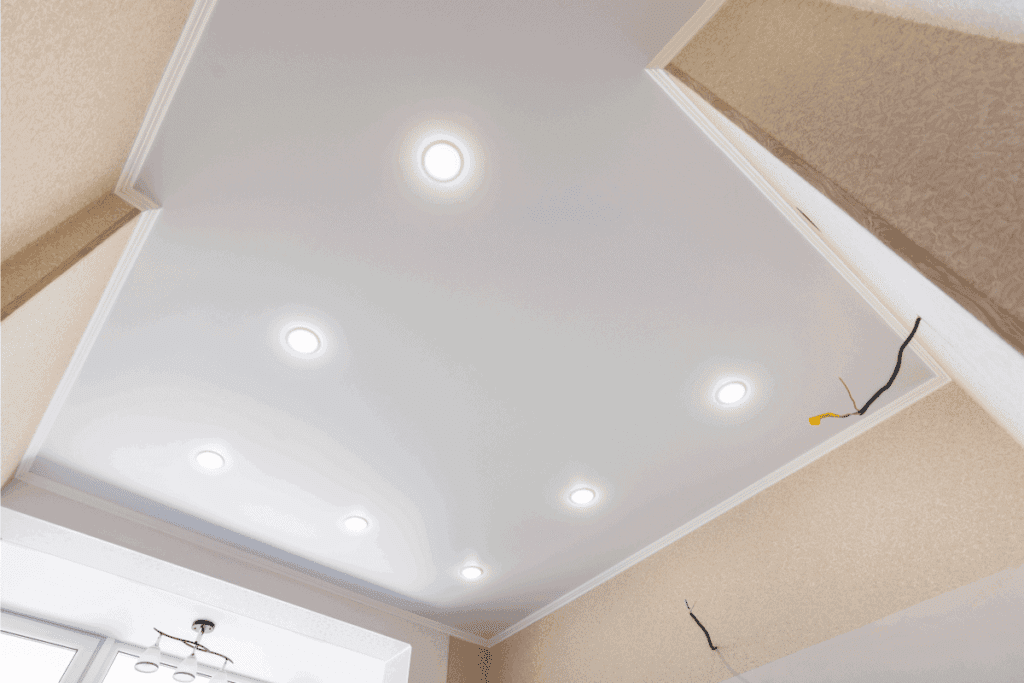
Smooth Ceiling Finish
Contact Us

Make Sure You Have the Right Tools

Prepare the Ceiling and Room
Cutting the Ceiling
Painting the Ceiling
Preparing the room
The Primer
Get started with a cut-in line.
Ceiling Painting
Locations We Serve